Guides & Education
Inside Sign Manufacturing: From CAD File to Installed Sign
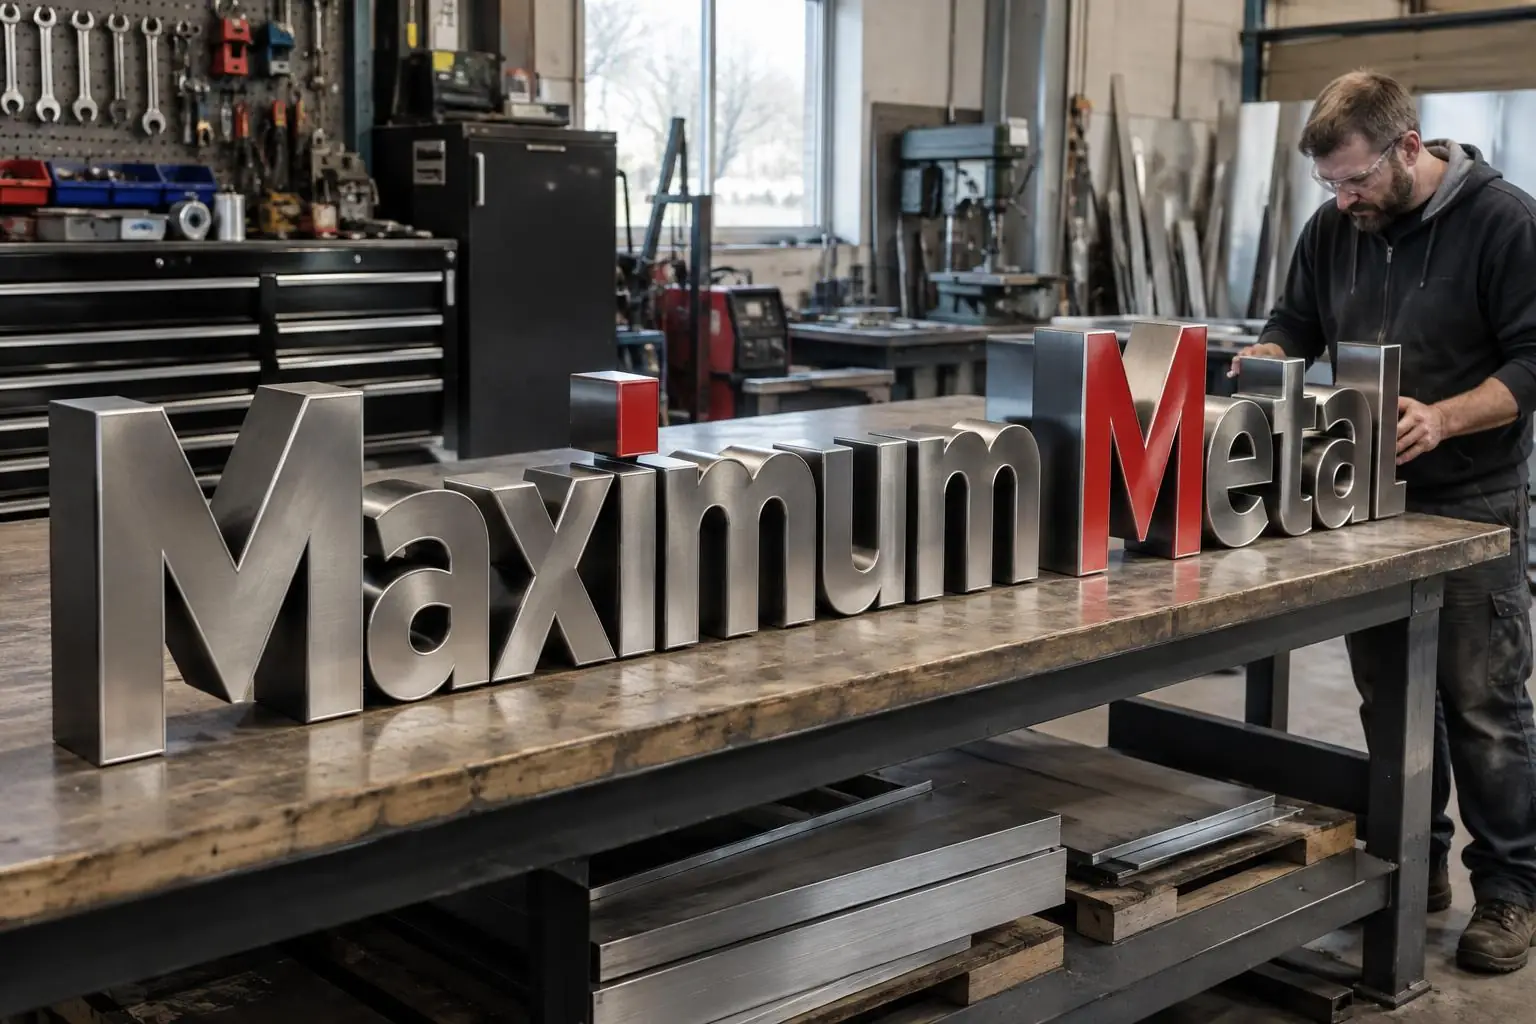
Almost every sign you see on a storefront started as a two-dimensional drawing and became a physical object through a repeatable manufacturing process. Understanding that process helps you spec better signs and spot corner-cutting before it costs you.
Here's what actually happens between a signed proposal and a sign on your wall — step by step, with the decision points that matter.
Step 1 — Engineering drawings
Before anything gets cut, the design becomes a shop drawing: dimensioned elevations, section details, mounting patterns, electrical schematics, and a full bill of materials. This is where sign engineering catches problems — a letter that's too shallow to accept an LED module, a mounting method that won't hold in the wall type, an over-current circuit.
Structural signs (pylons, monuments, wall signs over a threshold size) also get a stamped engineering package from a licensed structural engineer. That drawing becomes the basis for the permit submittal.
Step 2 — CNC routing and material prep
Aluminum sheet gets loaded onto the CNC router; letter faces, returns, and cabinet panels get cut to spec. Acrylic faces are routed on the same machine with a different tool head. On complex jobs we'll router-cut a full mock-up template first to verify letter spacing at 1:1 scale.
Router precision — a well-maintained machine holds ±0.005 inch — is what makes the difference between letters that feel machined and letters that feel homemade. Cheap shops use plasma cutters, which are faster but leave a heat-affected edge that shows.
Step 3 — Forming and welding
Aluminum returns get formed on a brake or bender, then TIG- or MIG-welded to the letter backs. Weld quality matters — a bad weld is the failure point on any wall-mounted sign a decade later. We weld continuously (not just tack), then grind smooth so the finish coat lays flat.
Cabinet signs get their frames welded from tube stock — usually 2x2 aluminum square tube — before face and back panels attach.
Step 4 — Finish: paint or powder coat
Every raw metal surface gets prepped (etch, prime) and finished. For exterior signs we default to automotive-grade catalyzed polyurethane or powder coat, both of which hold color under UV exposure for 10+ years. Standard latex or enamel — what you'll get from a low-bid shop — will chalk and fade in 2–3 seasons.
Custom color match is done from a Pantone or chip sample and sprayed to a signed-off spray-out card before production quantities go into the booth.
Step 5 — LED and electrical assembly
For lit signs, UL-listed LED modules go in on a mapped pattern — evenly spaced for uniform face illumination. Power supplies are sized with 25% headroom and matched to the module voltage. All wiring is stranded, jacketed, and labeled.
We wet-test the entire sign at the bench: full brightness, minimum 30 minutes, thermal imaging on the power supply. Any letter that flickers or dims stays on the bench.
Step 6 — QC and staging
Every completed sign gets a final QC pass: dimensions verified against the shop drawing, faces and finish inspected under raking light, mounting hardware kit staged with the sign, install drawings printed and paired.
Nothing leaves the shop without a signature. That's the only reason we can hit an install date without a return trip for a missing bracket.
Why in-house fabrication matters
Shops that outsource fabrication add a middleman, a shipping leg, and a communication gap between the designer and the fabricator. When the manufacturing is under one roof, a designer can walk 30 feet and see a proof, and a change order takes hours instead of weeks.
ESCO Pacific has fabricated in-house in Chehalis since 1977. Every sign we install passes through our shop, our QC, and our install crew — one accountable team from concept to permit close-out.
Frequently asked questions
- How long does custom sign fabrication take?
- Simple wall signs: 2–3 weeks after design approval. Illuminated channel letters or cabinet signs: 4–6 weeks. Structural signs requiring engineered drawings and permits: 8–12 weeks including permit time.
- Do you fabricate in-house or subcontract?
- 100% in-house at our Chehalis facility. Design, engineering, CNC routing, welding, paint, LED assembly, and installation are all under one roof and one QC standard.
- Can you match an existing sign we already have?
- Yes. We routinely match existing brand signs for chain retail, franchise, and multi-location clients — including exact PMS color match, letter profile, and lighting specification.
Talk to ESCO Pacific
Have a sign project in mind?