Guides & Education
The Sign Design Process: From First Sketch to Production-Ready Art

The gap between 'I like that logo' and 'that's exactly what I want mounted on my building' is where most sign projects go sideways. A sketch that looks great on a laptop screen can be the wrong scale, the wrong color under real daylight, or flatly unbuildable once it meets a fabricator's constraints.
A real sign design process closes that gap before anything gets cut. Here's how it works, step by step, and what to expect at each stage.
Step 1 — Consultation and site read
Design starts with the building, not the logo. A designer needs to know the wall material, available mounting surface, sightlines from the road or sidewalk, and any landlord or municipal restrictions before sketching anything. Skipping this step is how you end up redesigning a sign that was never going to fit the wall.
Step 2 — Working from your brand, or starting fresh
If you already have brand guidelines or logo files, the designer works from those — cleaning up low-resolution art, converting raster logos to clean vector files, and confirming exact Pantone colors. If you're starting from nothing, this is a genuine creative phase: concept sketches based on your industry, competitors, and the impression you want to make.

Step 3 — Concept drafts
You'll typically see two to three concept directions at this stage — different layouts, letter styles, or material treatments of the same idea. This is the cheapest, fastest point in the process to change direction, which is exactly why it happens before any rendering work.
Step 4 — The building-photo rendering
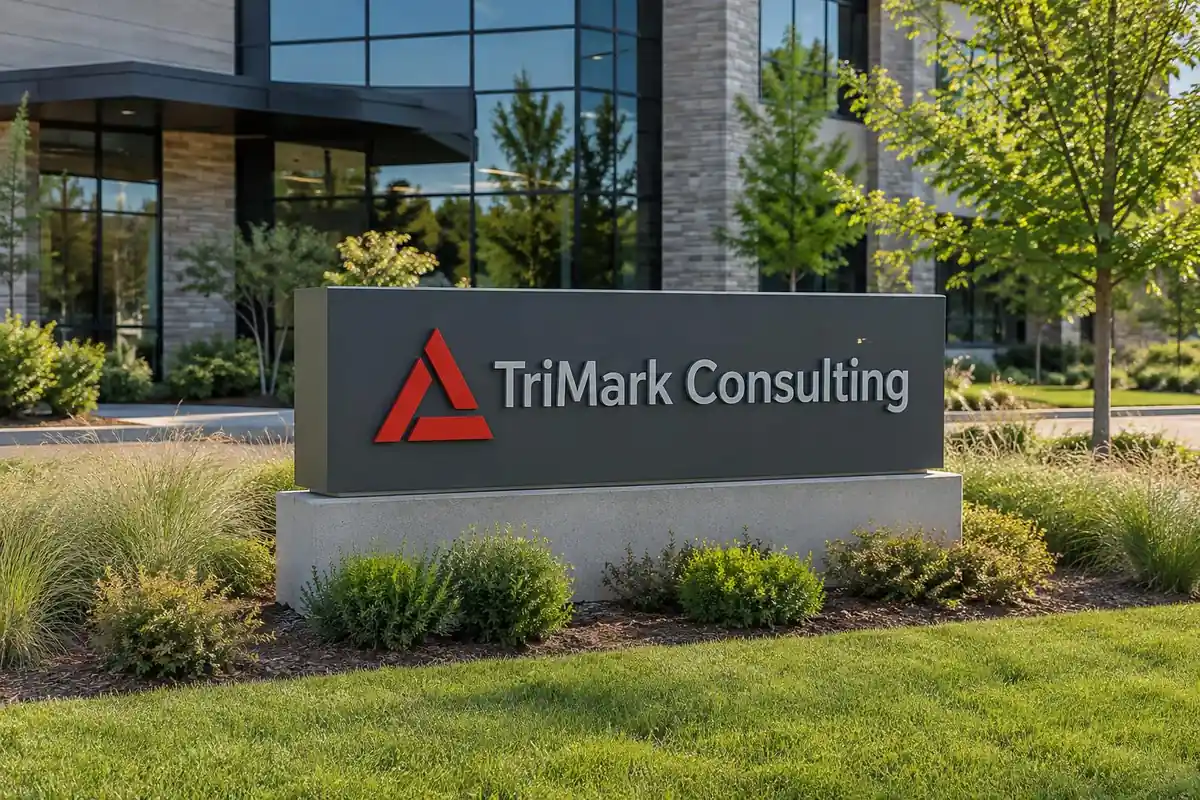
Once a direction is chosen, the design gets placed on an actual photo of your building at the correct scale. This single step eliminates the most common sign-project regret: approving something on a clean white background that turns out too small, too big, or oddly proportioned once it's really on the wall.
Step 5 — Revisions
Most projects go through one to three rounds of revision — color adjustments, letter sizing, layout tweaks. This is normal and expected; a design process with zero revision rounds usually means nobody looked closely enough at the first draft.
Step 6 — Production-ready files
The approved design becomes a dimensioned production file: exact measurements, material call-outs, Pantone or paint codes, and mounting details. This file is what fabrication builds from — and it's also the basis for permit drawings if the sign needs one. A design that stops at a pretty picture and never becomes a dimensioned file isn't finished.
Frequently asked questions
- How long does sign design take?
- A straightforward wall sign with existing brand assets: 1–2 weeks from consultation to approved production file. A from-scratch logo and full sign concept: 2–4 weeks, mostly driven by revision rounds.
- Do I own the final design files?
- Yes — once a project is complete, you're entitled to the production files for the sign you paid to have designed and built.
- What if I don't like any of the initial concepts?
- It happens. We'll go back to the consultation stage and dig into what specifically isn't landing — usually direction, not execution — before drafting a new round of concepts.
Talk to ESCO Pacific
Have a sign project in mind?